Saturday, March 9, 2013

Beef Stew over Cheese Grits


Why not try making a little beef stew this weekend? I saw the Pioneer Women serve beef stew over cheese grits and I was in love. Sorry my picture isn't very yummy looking but beef stew isn't a pretty dish. Making a stew is also a great way to get rid of any root veggies that are close to the end of their life. 
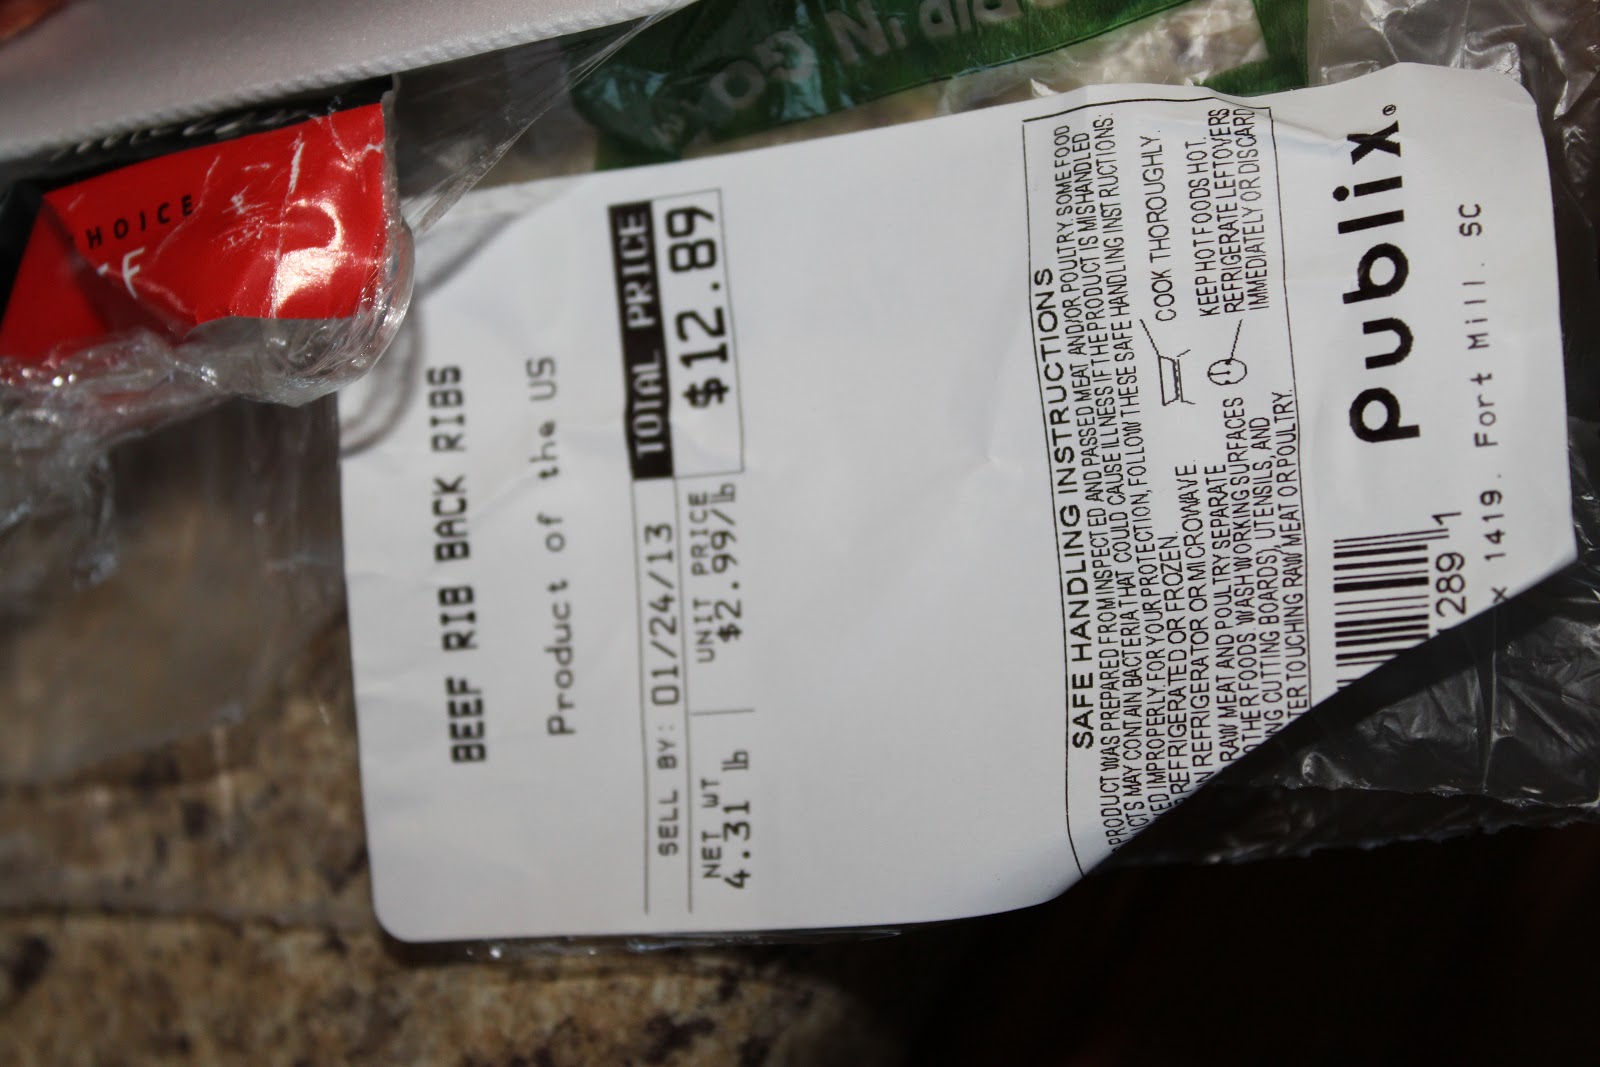
Stew meat
Flour
carrots, Chopped**
onion, Chopped**
garlic cloves
celery, chopped**
potato, chopped**
Beef Stock
Red Wine (optional)
Bay leaf 
Salt and Pepper
Oil

(You could also add parsnip, turnip, any root veggies you like)

Preheat oven to 325
Grab a heavy dutch oven and heat over medium/medium high heat. Season your stew meat and them dump into flour and dust off excess. Add meat to the pot when the oil is hot. DO NOT over crowed the pot. Do the meat in batches so it browns properly. Brown on all sides and remove to a plate. Continue until all meat is browned and resting on a platter. Add your onion, carrots, and garlic cloves to pot. Season with salt and pepper and let the veg cook a bit. Add a bit of red wine, beef stock or water to pot to deglaze. Scrap up all the yummy brown bits off the bottom of the pot. Now add meat, bay leaf, potatoes to pot. Cover with beef stock (everything in the pot should be covered by the liquid). Cover and put in oven. Cook for about 3 hrs. I checked mine after 2 hrs to make sure the pot wasn't dry. Cooking time will very depending on how big your meat chunks are but they should fall apart easily. When the stew is done you can make your grits.  

**All the veg should be the same size. Cut into large chunks so they don't turn to mush during cooking.


Monday, February 25, 2013

Just Do It: Culinary Courses

  Often in life we don't follow our heart or passions but thankfully life isn't over till your dead. There's always time to learn something new or go after a dream. Cooking, baking and eating are some of my passions and I have always wanted to go to culinary school. The next best thing to culinary school are culinary classes. In the last few years I have done a few cake decorating classes, macaroon class and an Italian cooking course in Northern Italy. I can't wait to find some more classes to feed my passion.

Macaroon class at Cakes 4 Fun, London, England


3 Day cooking course in the Asiago region of norther Italy. While the class didn't offer a total hands on experience it was still great fun.


Saturday, February 23, 2013

Sunday Roast

  Sunday roast is an English tradition that is easy to love. Nothing says love like a big hunk of roast meat and veg and some Yorkshire pudding. Mmmmm! My favorite roast is a nice roast chicken because it's easy, makes the house smell amazing and always looks impressive. I know it's typically cheaper to buy a roasted chicken at the grocery store but it really is worth doing it yourself every once in a while. 
   Here's the cast of characters for my favorite:


Whole Chicken of your choice
1 stick of softened butter
Lemons
Fresh Thyme
Garlic
Salt & Pepper


 Check the chicken package for cooking temp/time. Most people recommend 425 degrees for 20 Min and an internal temp of 165. Make sure you take your chicken out of the fridge a min of 30 min before cooking. Always make sure your meat is room temp before cooking.

 Make a compound butter to put under the chickens skin.
1 Stick softened butter
Zest of 1 lemon or 2
Juice of half or whole Lemon
Thyme Leaves
1 or 2 garlic Cloves minced
Fresh cracked pepper
Salt 

Loosen chicken skin with fingers and get the butter under the skin and down into the legs. Also run a little on the exterior of the chicken. Place chicken in roasting pan on rack or make one with carrots and celery.

 Salt and Pepper the outside of the bird. Insert lemons and Thyme sprigs into the chickens body. 
You can also throw in some garlic cloves.
 If you don't plan on using all the compound butter you can roll some of it up and pop it in the fridge or freezer for future uses.
Just make sure you do this before getting uncooked chicken hands in it!

Ready to Roast!


Let your bird rest at least 15 min after you remove him from the oven.


Carve, Serve, Enjoy!

Thursday, February 21, 2013

Crockpot Dinner

  Most of my pals have been pinning a ton of crock pot meals on Pinterest. I love that the crock pot has gained in popularity again in the last couple of years. My crock pot is seeing more use now since there are a lot more recipes that don't require "Cream of " soups. YUCK! Last year I tried a crock pot rib recipe because Liam and Mike were craving some ribs and the Commissary had them super cheap! The recipe works but gives you super tender, fall off the bone ribs which makes grilling/broiling for some crispness a little difficult but worth it.
  The first time I used this recipe from the blog . The last time I made it I just went for it on my own.

I use Beef ribs.


Next I made a simple seasoning rub with:
Kosher Salt
Fresh Cracked Pepper
Garlic Powder

You will also need some of your favorite BBQ sauce


I do not use my crock pot without the awesome crock pot bags. These make cleaning up SO much easier!

Season your ribs and then get them to fit in your crock pot. They should be touching the sides if possible. Then cover with some BBQ Sauce and close up the lid.
Cook on LOW for 6-8 hrs. 

After the ribs are done through them on the grill or under the broiler with some more BBQ to give them a little crispy yumminess.

Here is a suggestion for an easy side. 
Oven Roasted Ranch Potatoes

Preheat a baking sheet (I use my Pampered Chef Stone) in a 425 or 450 oven

Combine 1 packet of Ranch Dressing powder
1/4 cup of oil

Cube up some potatoes and toss in bowl with ranch mix.

Put potatoes on preheated baking sheet (I use a slotted spoon to avoid adding too much liquid).

Bake for 10-15 min and toss.

Continue cooking for 15 min or until they look yummy and done like this picture. 

Friday, February 8, 2013

Welcome To My Kitchen


  Welcome to my kitchen and my cooking world. If you don't know me already my name is Melanie and I am the mother of two and wife to Mike. I have been cooking since I was 6 because I was a super picky eater till age 24 and had a mother that wouldn't make me a separate meal. Cooking for me started with the microwave and stove making hot dogs, grilled cheese sandwiches and scrambled eggs. Over the years cooking, baking and cake decorating have become my passion and my escape. I do not claim to be a pro and don't really write my own recipes but I do love to share my favorite recipes with friends. Feeding people makes me happy. Maybe one day soon I can take the next step and become a pro baker.
  This blog is here to share my favorite recipes with my friends and hopefully get some of your favorites to try as well. Let's cook!

  I promise to try taking more photos of my process in the future. Also please note I don't always have exact recipes if I am experimenting.

First up is a new family favorite

Mexi Quinoa


I really, really love Mexican rice you get at Mexican restaurants. As a family we love quinoa so I made this Mexi Quinoa one night and it's a new must make often recipe. Tonight I am going to throw in some rotisserie chicken and make it a meal.

1 C Quinoa
11/2 C. Chicken or Veg stock/broth
1 Can Rotel (whatever heat level you enjoy we use Mild)
Whatever veg you love or have on hand
Veg oil or Olive oil

Cook Quinoa in your stock/broth according to package directions (I have found using a 1:1.5 ratio is better than the 1:2 ratio most packages suggest which seems to be too wet. Please cook it however you feel works best.) You can do this step ahead of time also.

While Quinoa is cooking cook up your veg. I used some zucchini and squash I needed to cook and some frozen mixed veg (which I added after cooking the fresh zucchini and squash).

Once the veg are almost done add the can of rotel. Let the rotel and veg mingle and get happy and then add your quinoa. Let any extra liquid cook off and serve.

This is a great side for taco or fajita night. Add whatever flavors you love.